
Let’s talk about alternate win conditions. Other than taking prizes, Pokemon has had a few different ways players can win the game. While most of the time, they just kind of “happen” depending on how the match plays out, sometimes, there are entire decks devoted to winning through these strategies.


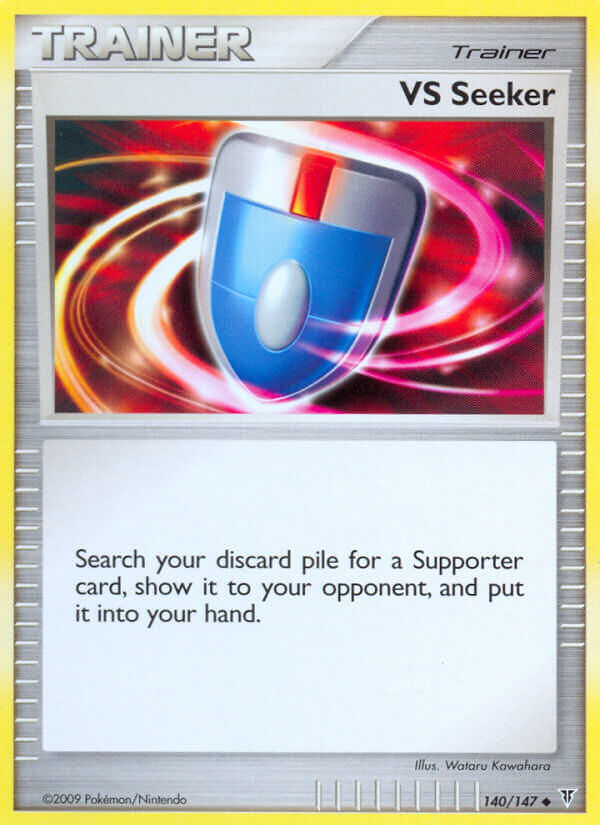
Running the opponent out of cards in their deck, also known as “milling” the opponent, is probably the alternate strategy that is most commonly built around. Durant was pretty successful in the BW era, with some versions running the opponents out of cards, others aiming to just run them out of resources, and then clean the game up with a heavy hitter like Mewtwo EX. Team Rocket’s Handiwork was very popular in control decks, as you could get it back with VS Seeker and Lusamine, and use it several times once you had locked up your opponent’s pokemon.

Other cards have existed that introduced new win conditions, but balancing these cards is difficult, and as a result, many of them haven’t seen much success. Lost World is probably the most infamous of these. Introduced in Call of Legends, it allowed a player to win the game if they could get 6 or more Pokemon into their opponent’s Lost Zone. Gengar Prime was initially very hyped, with lots of people trying to use Hurl into Darkness to fill their opponent’s Lost Zone as quickly as possible. Unfortunately, the deck didn’t see too much success.
Other decks included Gengar Prime and one single copy of Lost World, as a backup plan in case they couldn’t take all six prizes. This generally was a more successful strategy – playing around just Lost World isn’t too hard, but playing around Lost World while also preventing the opponent from taking six prizes is a little more difficult.
The most common alternate win condition, however, is probably “benching,” especially in older formats. Benching the opponent occurs when you KO a pokemon, and your opponent has no more pokemon on their bench. In older formats, it wasn’t uncommon for aggressive decks to win this way – while they didn’t necessarily “try” to win by benching their opponents (moreso by taking their 6 prize cards very quickly), in many older formats, you could attack on the first turn. Lower-hp basic pokemon that relied on evolution were pretty susceptible to getting quickly KO’d, and as a result, it wasn’t uncommon to run your opponent out of pokemon.
The Deck

| Pokemon | Trainers | Energy |
|---|---|---|
| 2 Dialga Lv. X 2 Dialga 2 Palkia G Lv. X 2 Palkia G 2 Drifblim 2 Drifloon 4 Jirachi 2 Uxie 1 Azelf | 4 Pokemon Collector 4 Seeker 3 Twins 2 Bebe’s Search 2 Cynthia’s Feelings 1 Copycat 3 Level Max 3 Warp Point 3 VS Seeker 2 Bench Shield 2 Research Record 1 Pokemon Rescue 1 Luxury Ball | 4 Double Colorless Energy 4 Rescue Energy 2 Upper Energy |
“Game Over” as it was called by its original designers, was a combo deck. While they are more commonly seen in other card games like Magic: The Gathering, combo decks rarely come together in pokemon. Like the name would imply, rather than trying to win by building a board state or depleting your opponent’s resources, combo decks focus on assembling a group of cards that allow you to win the game immediately, regardless of your opponent’s board state. Let’s take a look at how exactly the combo works. If you want to try a fun riddle/mental exercise, do not go any further! Take a look at the decklist above and see if you can figure out how the combo works! If you can’t figure out the entire process, maybe try to identify which pieces are going to be important!
Before I go any further, I really want to give a shoutout to the people who put this combo together. This is not a concept that I came up with myself, was initially found on PokeGym by a member of my local league, and it completely blew me away. The decklist above was created by users: DarthPika, Pikamaster, and Waynegg, and was tested in a group that referred to themselves as “Team Hatter.” They saw a bit of success with the deck at their State Championships, after which they wrote a short piece about their creation, but because this performed well at States and not Regionals/Nationals, the list has basically been forgotten about. They named their creation “Game Over” and I wanted to honor their accomplishment by keeping the same name for the deck. Major props for this deck to all of these players!
The Combo
Unlike all of the decks mentioned before now, the combo deck we will be looking at in this article focuses its ENTIRE strategy on “benching” its opponent, and it does so without taking ANY knockouts. Once your combo comes together, you can remove all pokemon on your opponent’s side of the field, even if their bench is full. To my knowledge, it’s the only deck that was ever able to consistently pull this strategy off without taking any KOs.
The Combo Pieces
In order to pull this combo off, you will need 5 things. It seems daunting, but the deck sets up pretty quickly through Jirachi, Twins, and Cynthia’s Feelings. All 5 pieces are crucial to the combo.
- Jirachi
- Dialga Lv. X
- Palkia G Lv. X
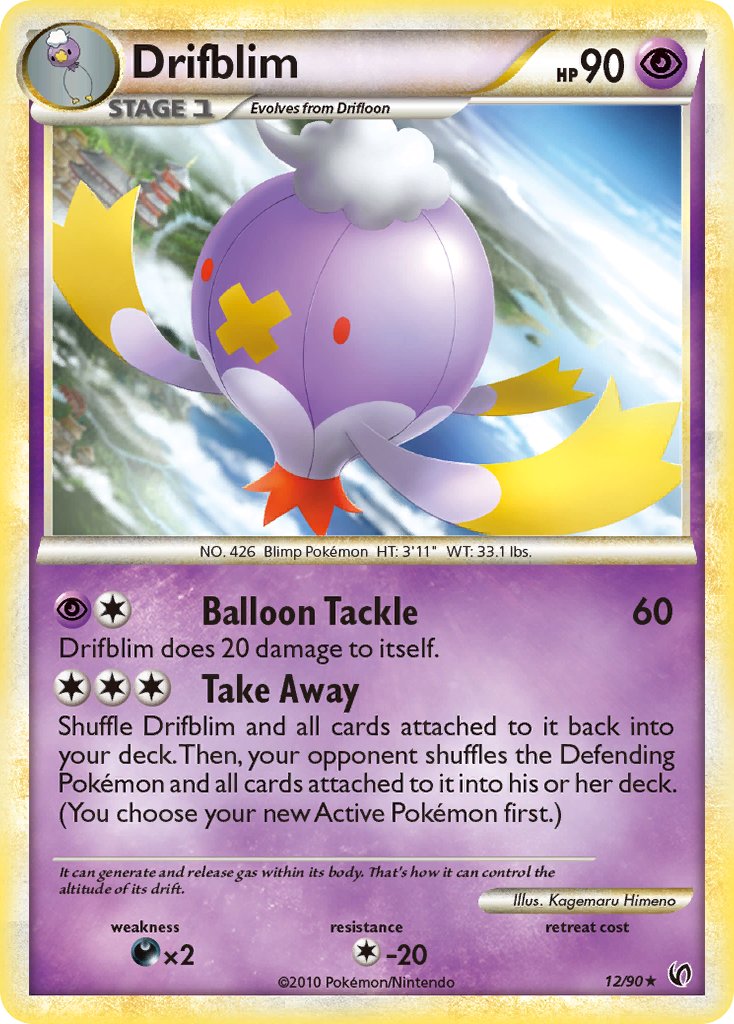
- Drifblim (with 3 energy attached)
- 2 Copies of Seeker, or 1 Seeker and 1 VS Seeker (assuming you aren’t item locked)
How it works

Step One
Use Dialga Lv. X’s Time Skip, repeatedly, until your opponent flips 2 tails. If possible, it will be in your best interest to set up 2 Dialga Lv. X, so that you maximize your chances, but this won’t always come together. Each flip is a 25% chance, and with 2 Dialga Lv. X out, your odds are much higher.

Step Two
Use Palkia G Lv. X’s Lost Cyclone poke-power. This is why it doesn’t matter how large your opponent’s bench is – no matter what, you will always be able to reduce it to 3 pokemon. At this point, it doesn’t matter which Pokemon on your side that you put into the Lost Zone, as long as you leave yourself with a Jirachi and a Drifblim.
Your opponent now has THREE benched pokemon remaining.

Step Three
Play Seeker. This FORCES both players to pick up one benched Pokemon. This is NOT optional. However, because it is your turn, you may play the Pokemon you picked up back down onto your bench immediately. Do not pick up your Drifblim with this card.
Your opponent now has TWO benched pokemon remaining.


Step Four
Use Jirachi’s Detour attack to copy Seeker. Both players are again, forced to pick up a benched Pokemon. (Because you attacked, you can’t immediately replay the Pokemon this time, but that’s fine. Just don’t pick up your Drifblim.)
Your opponent now has only one benched pokemon remaining.

Step Five
Your opponent draws, and passes their turn IMMEDIATELY due to Dialga Lv. X’s Time Skip poke-power. They do not get a chance to do any other actions. Your turn begins. Draw, play your 2nd copy of Seeker, or VS Seeker to replay the Seeker you used last turn. You and your opponent once again, each must pick up a pokemon.
Your opponent now has ZERO benched pokemon remaining.
Step Six
Jirachi retreats for free into Drifblim. Use Take Away to shuffle your opponent’s active pokemon, which is their last remaining pokemon, back into their deck. Because your opponent has no more pokemon in play, you win the game immediately, regardless of prize count.
As long as you have all of the pieces listed above, there is nothing your opponent can do on their turn to prevent you from winning the game. Because their turn ends immediately after they draw a card, they cannot play any of their basic pokemon down, they cannot play a Judge to get the Seeker out of their hand, and they can’t attack to take any KOs. As long as you sequence the steps properly, you will win the game.
Card Choices
Now that you know how the combo works, let’s take a look at some of the other card choices in here. This deck features several cards that are never really seen in other decks from this era, and it’s pretty cool to see them all fulfill such a unique role in winning a game.
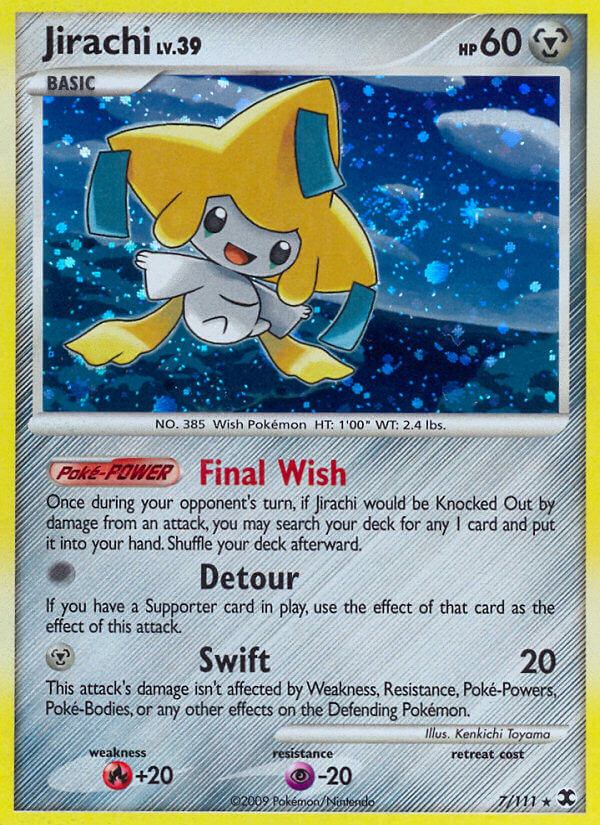
Jirachi is on double duty – it plays a crucial role in the combo, but it is also an amazing setup Pokemon in this deck. For ZERO energy, Jirachi’s Detour allows you to copy a supporter card that you played this turn. On turn 1, this means you can use Pokemon Collector to find all of the basic Pokemon you could possibly want. After, since your deck doesn’t care about taking Prize Cards, you can play Twins, and then Detour Twins, searching your deck for any 4 cards every turn. Jirachi’s Final Wish poke-power also allows you to search your deck for any 1 card when you get KO’d, so your opponent can’t even ruin your strategy through hand disruption like Judge. You’ll be able to take another Twins, and find your pieces again the following turn.


Since your deck isn’t focused on taking prize cards at all, these 2 cards are going to be your best setup supporters. Twins can be played any time you are losing, so this combined with Jirachi allows you to grab any 4 cards you want in a turn. Cynthia’s Feelings allows you to shuffle your hand into your deck and see 8 new cards. Shuffling your hand in will actually be pretty crucial due to the inclusion of Level Max in this deck.
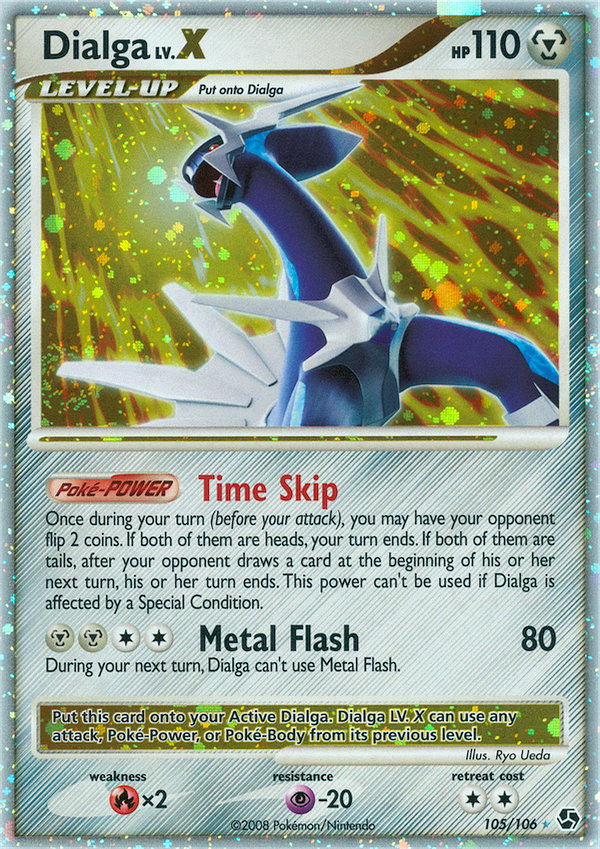
Dialga is one of the important combo pieces – and I wanted to highlight it to make sure that you were seeing it correctly. Yes, this is REGULAR Dialga Lv. X, NOT the SP-pokemon that was oh-so-popular in decks like DialgaChomp. Dialga Lv. X was reprinted as a tin promo (DP37), so even though it was originally printed in Great Encounters, it was still legal this season. The Poke-Power is the reason for its inclusion – there are very few cards ever printed that allow you to take multiple turns in a row, and this is one of them. Taking 2 turns in a row is necessary in order to pull of the combo.


These were a couple of unique item cards that didn’t really see play in any other decks. Bench Shield is here to protect your bench from Garchomp C Lv. X – as long as Bench Shield is attached, the Pokemon it’s attached to can’t be damaged by attacks. Level Max lets you search your deck for a Level X, and immediately play it down onto the proper Pokemon – even if it is on the bench. This is part of the reason Cynthia’s Feelings and Bebe’s Search are so important – the Level X Pokemon have to still be in the deck in order for them to be Level Maxed onto the field.
Research Record was a pretty interesting choice – it allows you to look at the top 4 cards of your deck, and put any number of them on the bottom before putting the remaining ones back on top in any order. For a deck that desperately wants to dig for specific cards, moving 2 or 3 useless cards to the bottom of your deck before playing a Uxie to draw cards is pretty huge. Of the entire deck, this one seems like the most “filler” to me, and I’ve got a few options that could replace them below, but more consistency is never bad.
Tips
The deck is a little weird to pilot, given that it plays for a different win condition than most decks. I definitely won’t claim to play perfectly, but here’s a couple of tips I’ve picked up along the way:
- Jirachi, in most games, will be the primary target for your Rescue Energy, at least in the early game. This ensures that even if it gets KO’d, you should still have a chain of Jirachis to make setting up your combo a lot easier, and you won’t have to waste your Pokemon Rescue on getting back Jirachi. Against LuxChomp specifically, Palkia G is also a fine place to put the energy.
- Conversely to Rescue Energy, Bench Shield will primarily be attached to Dialga Lv. X, and possibly Drifblim. These two pokemon are big targets for Garchomp C Lv. X usually, and Bench Shield is the only real way you have to prevent them from getting targeted down. Drifblim can theoretically sit in your hand until you get the double tails on Time Skip, but if you want to play around Judge, you can also put a bench shield on it.
- Burning some Seekers early is OK, as long as you leave yourself 2 outs for the combo. It’s actually pretty common to play a couple off these before the combo goes off, since it allows you to re-use the basic Dialga’s poke-power to get your other pieces out of the discard pile, as well as Azelf, to get multiple pieces out of your prize cards.
- You only have 1 Pokemon Rescue, and it is the ONLY card in the deck that can grab your Lv. X pokemon out of the discard pile (Dialga specifies non-Lv. X in its poke-power). Unless you are using it to win the game, you should ONLY be using it to get back a Lv. X
- Research Record is most useful immediately before a Uxie, allowing you to set up your set up (pun absolutely intended). Furthermore, this deck relies primarily on searching for specific pieces, not drawing a bunch of cards. If you’re not using Research Record before a Uxie, whatever cards you put on top of your deck are probably just going to get shuffled back in anyways. Jirachi’s Poke-Power also triggers upon being KO’d, so you can’t even use Research Record to set up your next draw step.
- Against anything, it is GREATLY beneficial to set up 2 Dialga Lv. X’s. This deck plays off of statistical odds, so maximize your odds when you can. Against SP Decks, setting up 2 Palkia G Lv. X can also be beneficial, so you don’t get hosed by a single Power Spray.
Possible Tech Options/List Changes
I was able to confirm that the list above achieved Top 8 at the Maryland State Championships. However, when I was a kid, I’m fairly sure the first time I heard about the deck, it was after it achieved 2nd place at a midwestern state championships. I haven’t been able to confirm this, but it is possible that an edited version made an appearance and was able to do better. Here’s a couple of possible tech cards you might consider if you are thinking about editing the list at all:

Among discussion boards, Mesprit was probably the most popular pokemon to be teched into other versions of the deck. With a couple copies of these, combined with Palkia G and Seeker, you could potentially Psychic Bind and shut the opponent down for several turns in a row, buying you more time to find the pieces for your combo, or to wait on the crucial double tails coinflip. It also prevents Luxray GL Lv. X from using Bright Look on your Palkia G, although there was some debate on how difficult it actually was to keep the Palkias in play.
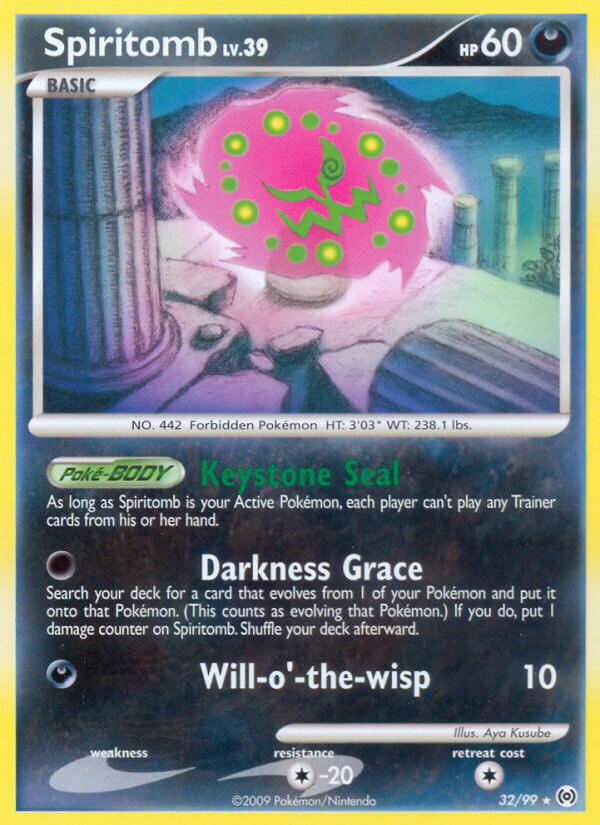
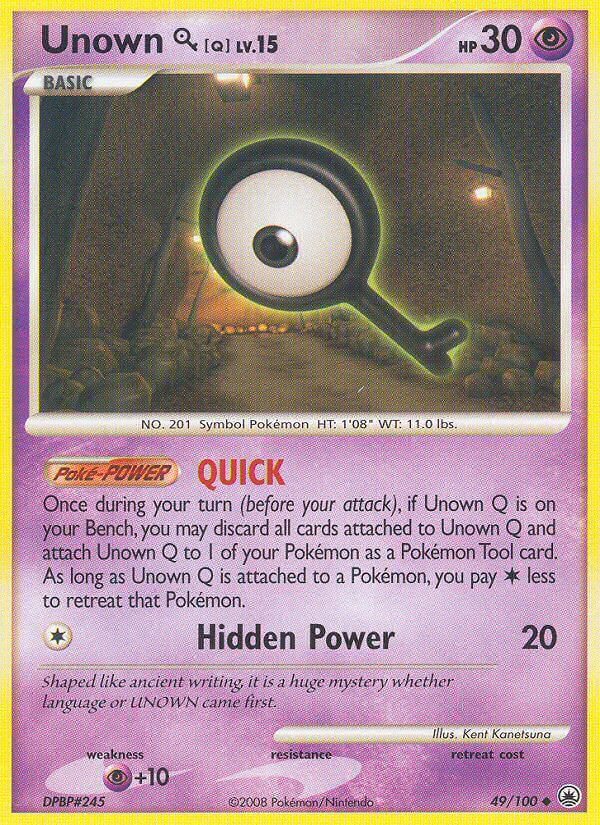
While Spiritomb was notorious for slowing SP Decks down and allowing Evolution decks to set up more easily, it would play a completely different role in here. Smart SP Players who know what the deck’s strategy is can smartly use their Power Sprays on the Palkia G Lv. X, making it a little more difficult to pull the combo off, or on the Dialga Lv.X, to allow them to grab more prize cards. Spiritomb is a potential solution. After flipping double tails on the Dialga LV. X, you could potentially warp point/switch into a Spiritomb, THEN use Palkia G Lv. X, allowing you to safely Lost Cyclone without the fear of Power Spray. Unown Q would probably have to be added as well, to make it easier to switch the Spiritomb out. This theoretically also could let you play Uxie Lv. X, but generally it is not needed to further your set up.

Lost World could also be a potential out to yet another alternate win condition. Especially if you decide to add a few Mesprits, you could theoretically Lost Cyclone quite a few times in a match, and since your deck has so much search power, it shouldn’t be that difficult to find that single copy of Lost World. If the opponent keeps playing down bench pokemon, you could potentially steal a pretty easy match, although seasoned players shouldn’t let themselves get more than 5 pokemon in the Lost Zone.
Conclusion
“Game Over” was an incredibly innovative deck, designed in a metagame that seemingly should have had all the tools to stop it – Item Lock, Power Spray, Bright Look, and more. But despite all of these factors, it put up positive results across a few State Championships. It’s a very rare that we get to see an alternate win condition step into the light – and a treat when it happens by accident, and not by card design. I definitely can’t promise you that the deck is Tier 1 competitive, and I probably wouldn’t recommend it if the 2011 World Championships were tomorrow, but it is certainly a very fun, unique, and creative concept that showcases just how fun deckbuilding can be. Also as mentioned above, this is the exact decklist that was posted at the time – more than 11 years ago at the time this article was written. It is definitely possible that there are optimizations to be made – there was a lot less eyes on Pokemon at this time, and many lists weren’t quite polished to their fullest potential. If anybody decides to test this list out and comes up with some improvements, let me know! I would be very interested to hear about them!
Once again, major props to Waynegg, DarthPika, and Pikamaster for coming up with this unique concept! This deck was very eye-opening to how deep and creative the deck building process can be. One of my friends once told me “You shouldn’t think of cards as just “good” or “bad” – instead you should be thinking of WHEN they are good, and when they are bad,” and this deck feels like a shining example of why. As always, thanks to everybody for reading, and hopefully I’ll catch you all at the next article!
